Introduction To Uploading To Amazon KDP
Once you have created a KDP account, you may wonder where to begin. We are not going to upload anything as yet, this is just to give you an idea of what’s involved.
Once in your KDP account, you will need to click your ‘Bookshelf’ link. Here you can upload paperback or hardcover books. We will only be covering paperbacks for now:
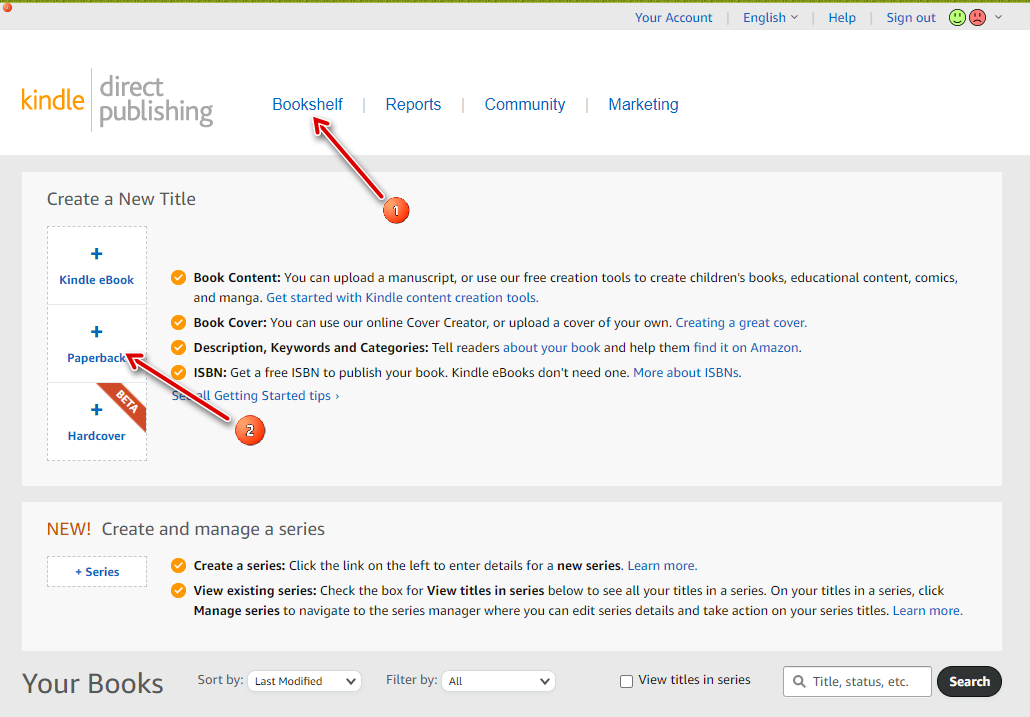
This will begin the process. On the next page, you will see the following:
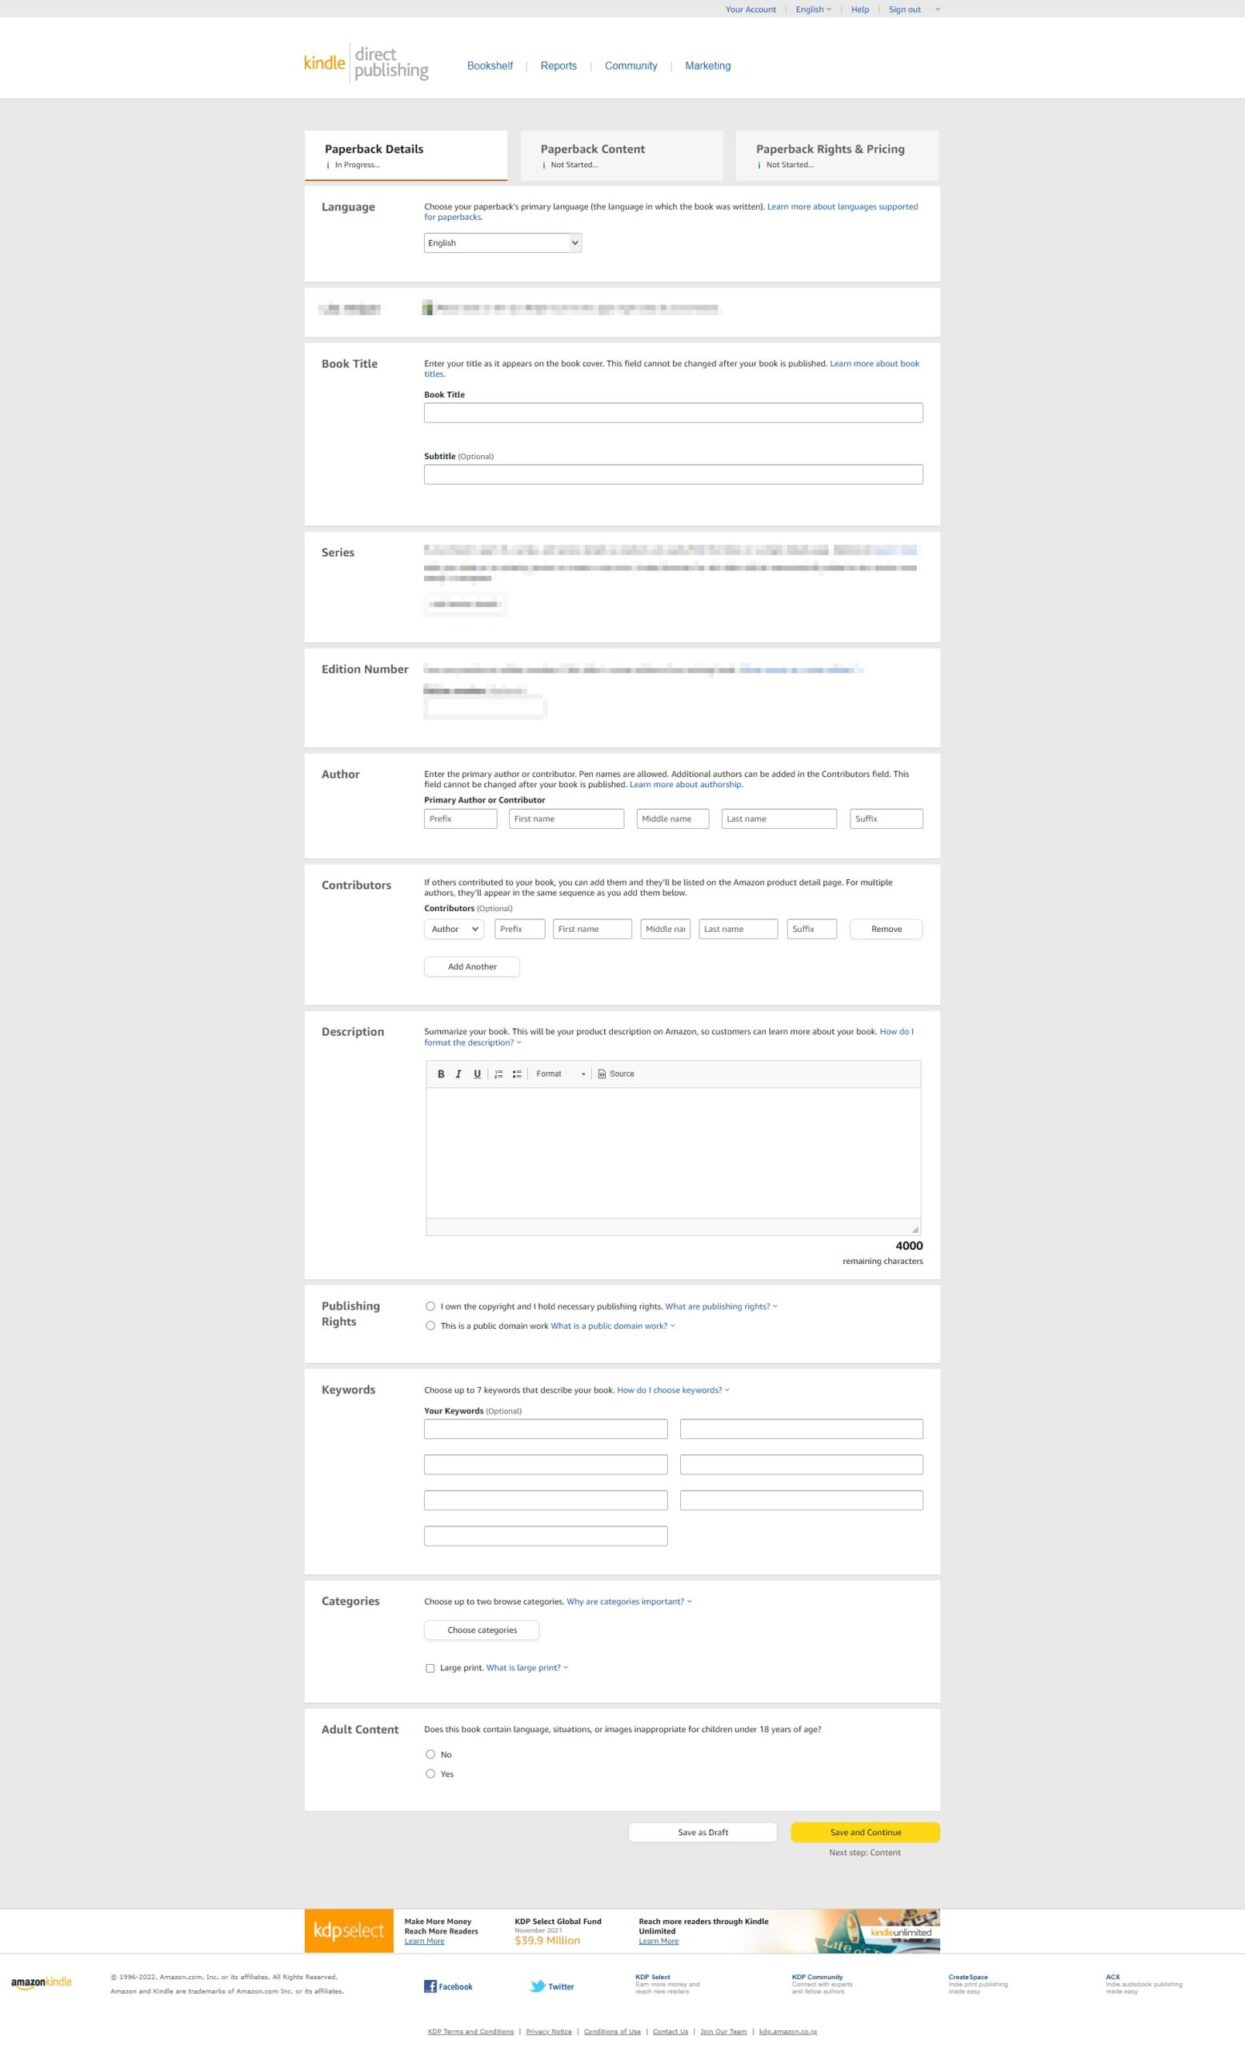
Parts of the screenshot have been blurred out, because they don’t apply to low-content books, only novels and suchlike.
You can use your own name or a pen name for each book you upload. I suggest you do a search for any names you want to use to make sure they haven’t been taken and are available for whichever social media accounts you want to create, if any.
I also recommend you pick one pen name and stick with it, as you can group your books together under one name if you decide to create an author account (covered later).
The next page is where you can select things such as:
- Get a free KDP ISBN – this is a free, unique number assigned to your book.
- Print options – we will go into detail about these later.
- Uploading your manuscript and book cover.
- Print preview. The preview can take a long time to render in some cases, so be patient.
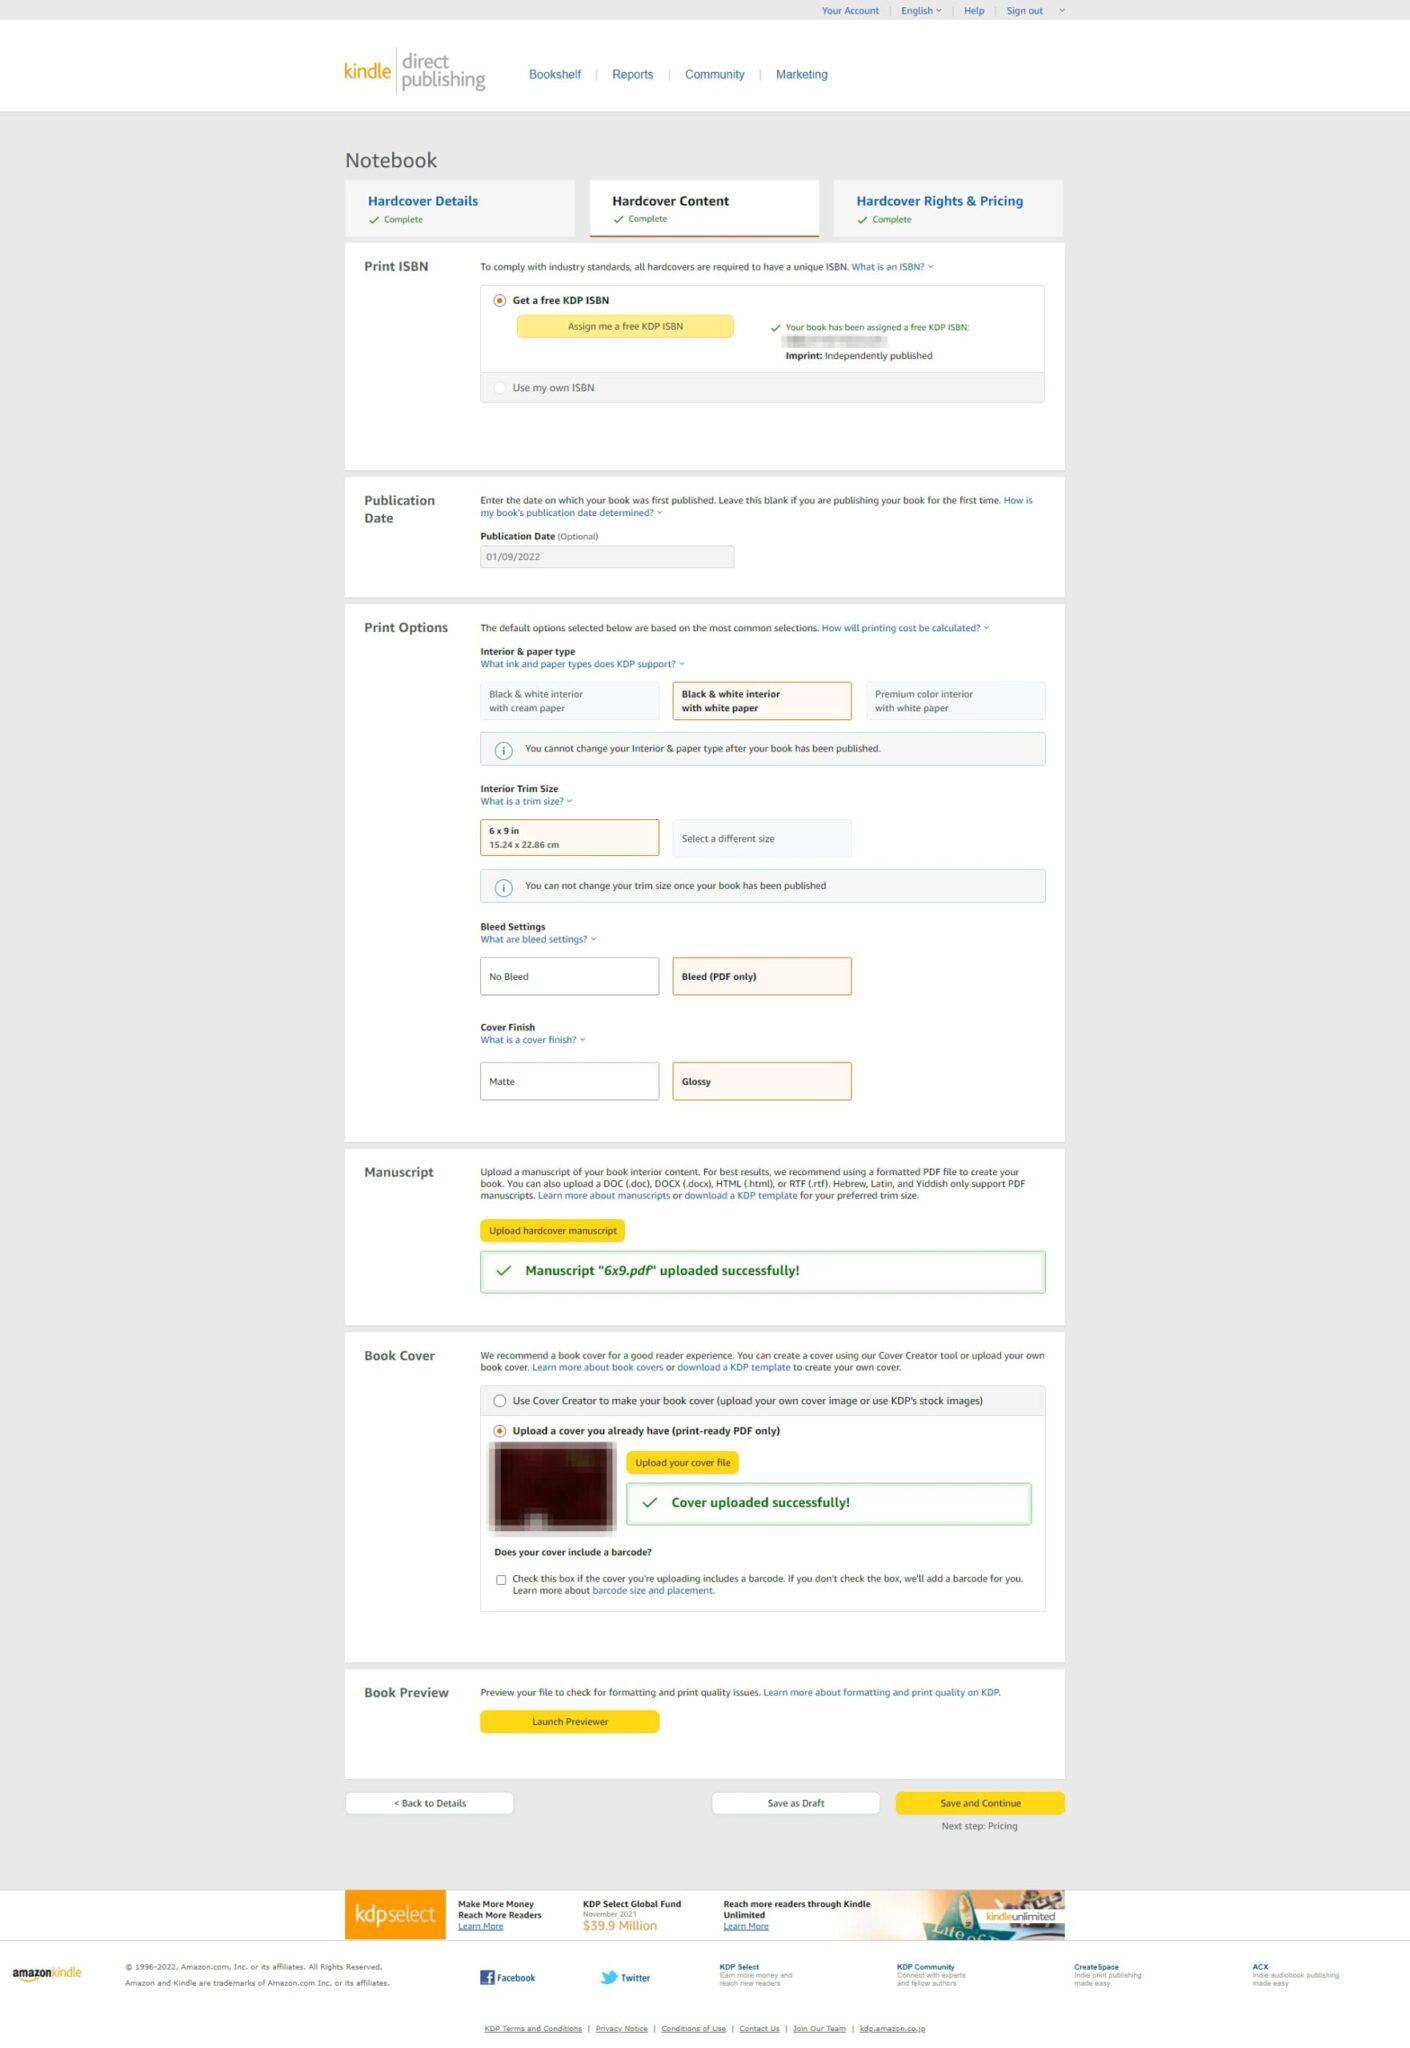
(In the above screenshot I selected the hardcover version, but we will be uploading paperbacks in our tutorials.)
The page after that allows you to select your marketplace, i.e. US, UK etc., and the pricing. We will look at these in a later tutorial.
This lesson was just to introduce you to the uploading process. I now suggest you take some time to go through my design tutorials, and then the other KDP tutorials, which will deal with uploading and selecting your title, subtitle, description, keywords and categories.