You can purchase Affinity Designer here.
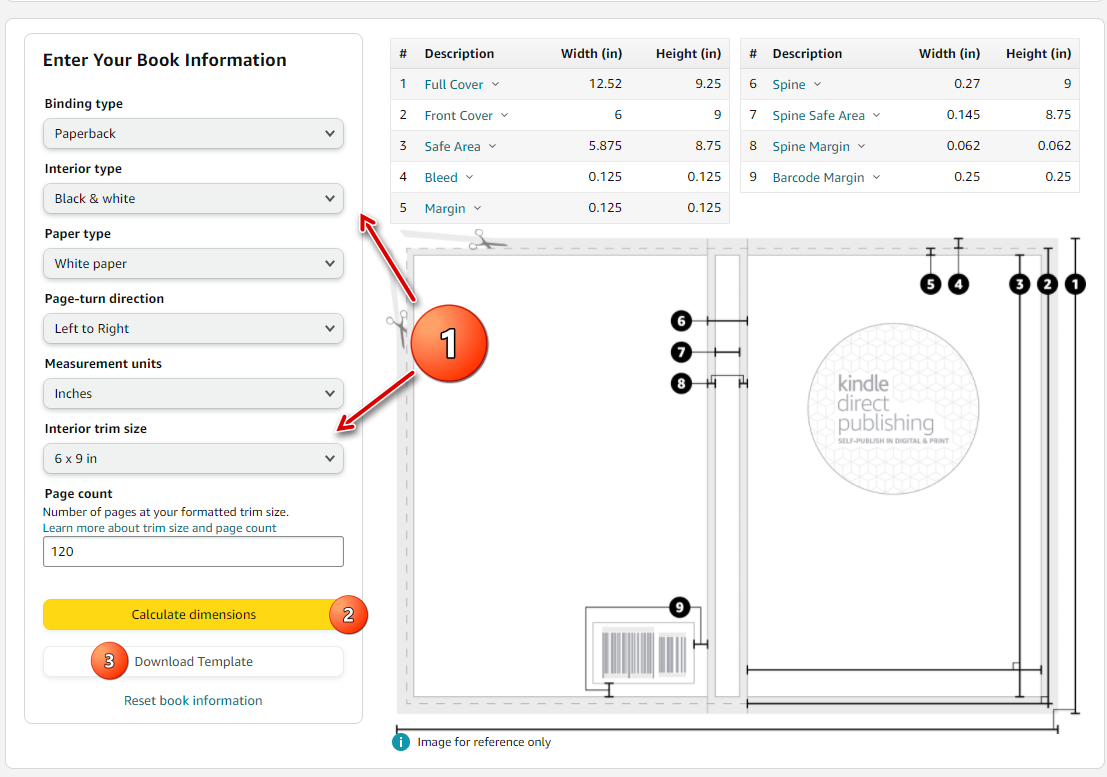
You need to decide on the size of the book you want to create the cover for. The usual one for beginners is the 6×9 inch notebook. You can create and download a cover here. Enter your book information, calculate dimensions and then download the template. The usual amount of pages for a notebook is around 120, but this is just a guide, it’s up to you:
The file you download will be a .zip file with PDF and PNG files. Extract the PNG file somewhere easily accessed, maybe on your desktop:
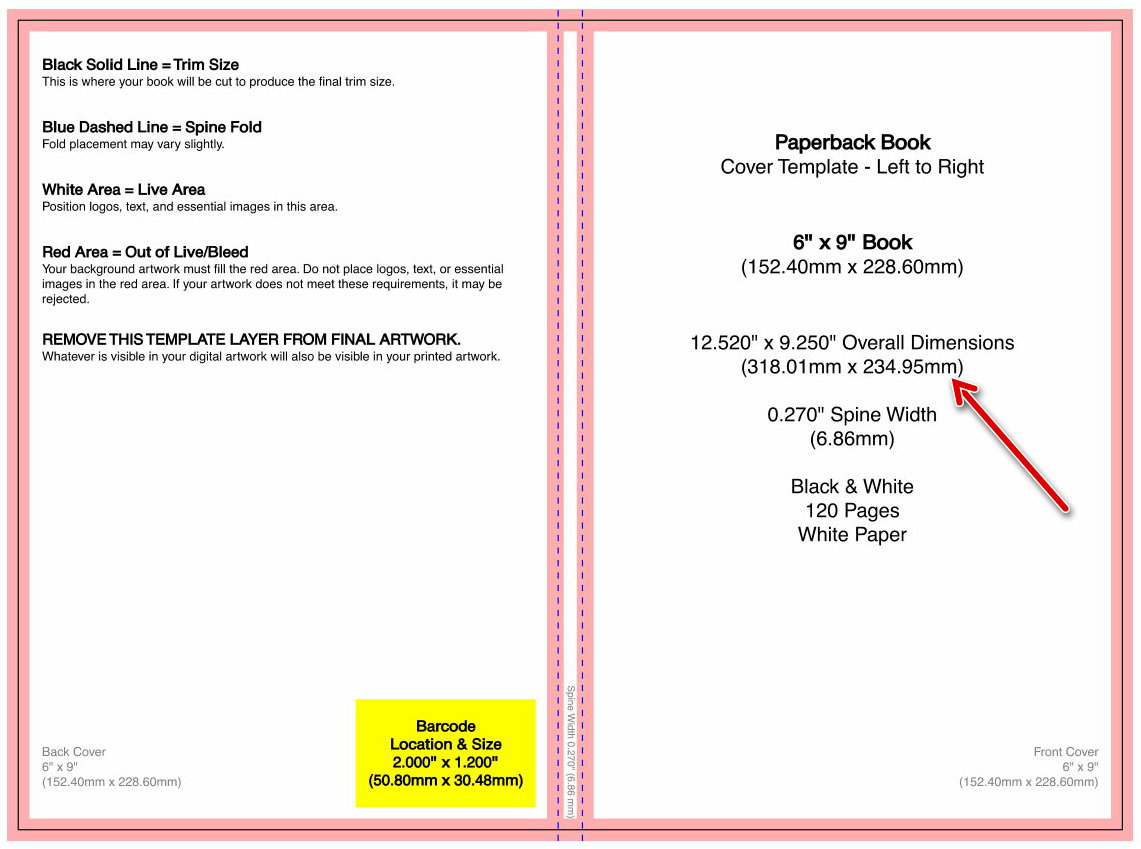
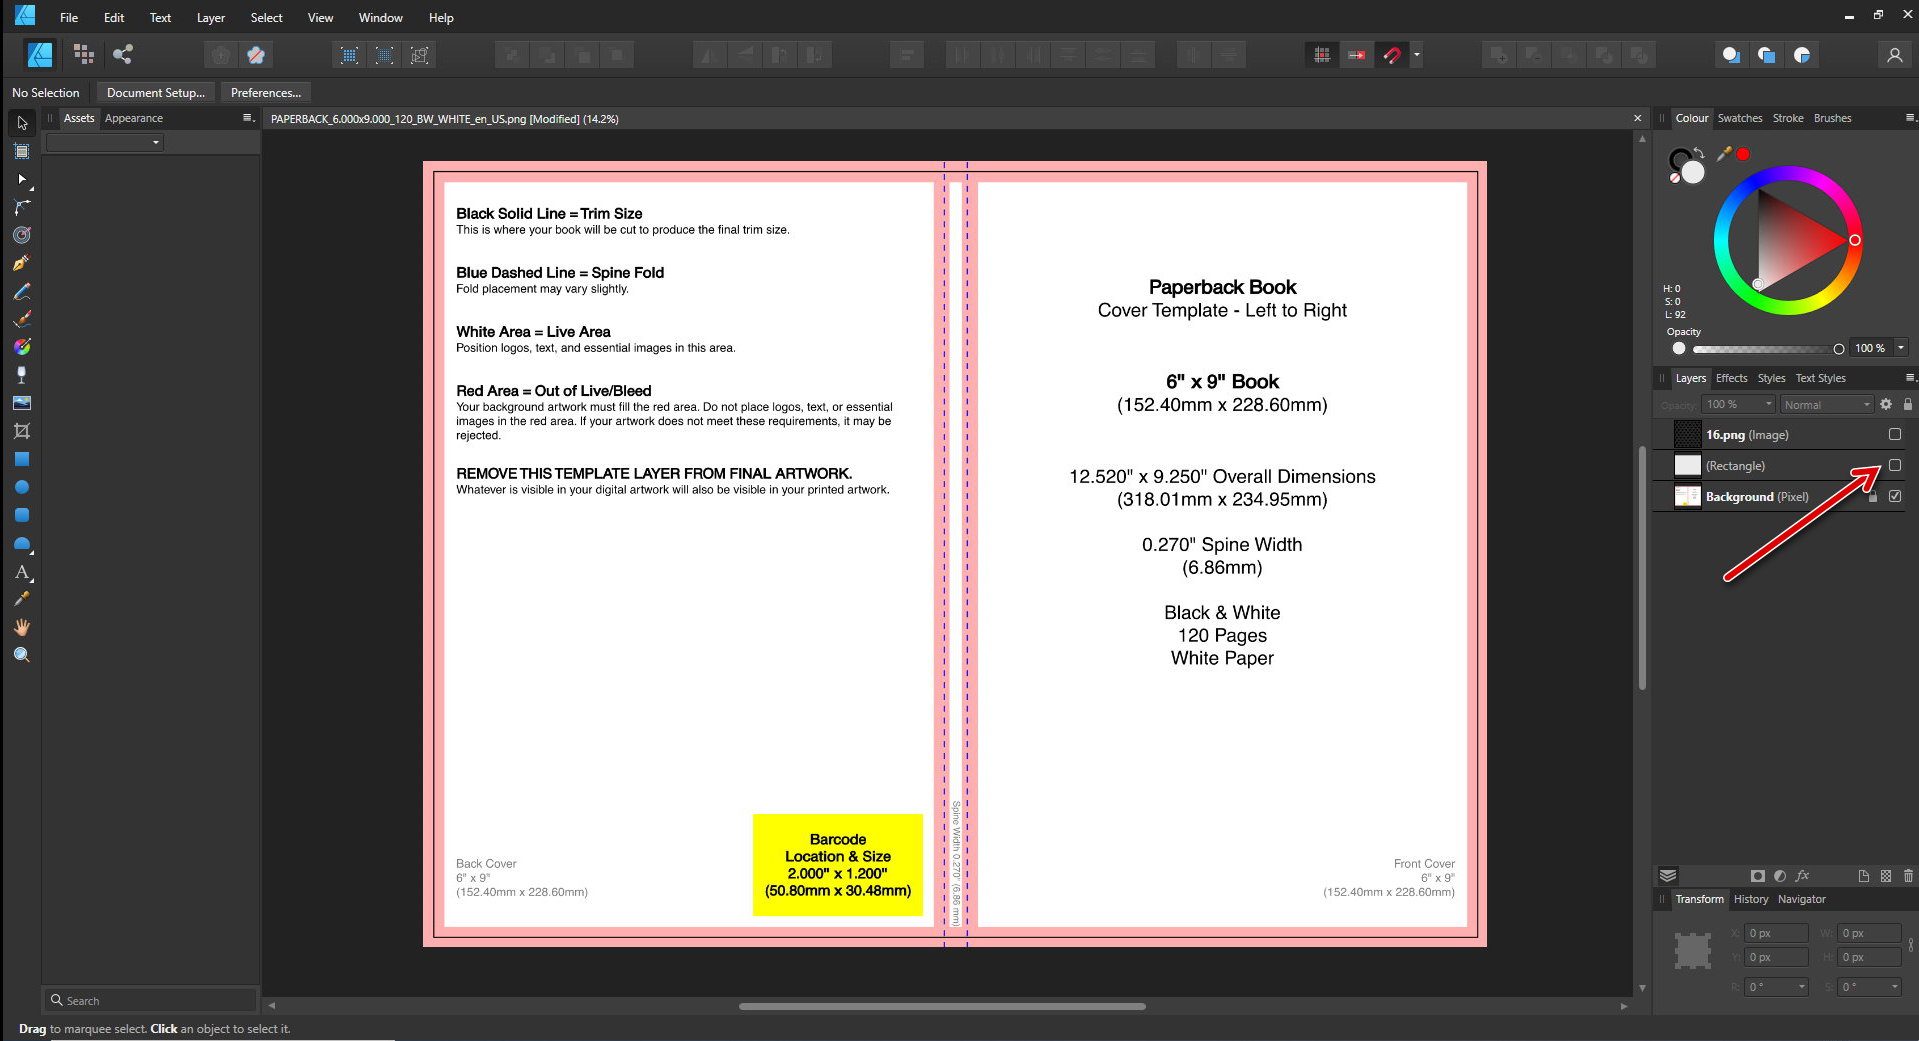
Open up Designer and open the downloaded book cover template image (File/Open from the top-left of the menu):

The following are the features I use the most for adding images, text and shapes, as well as changing the colour of each:
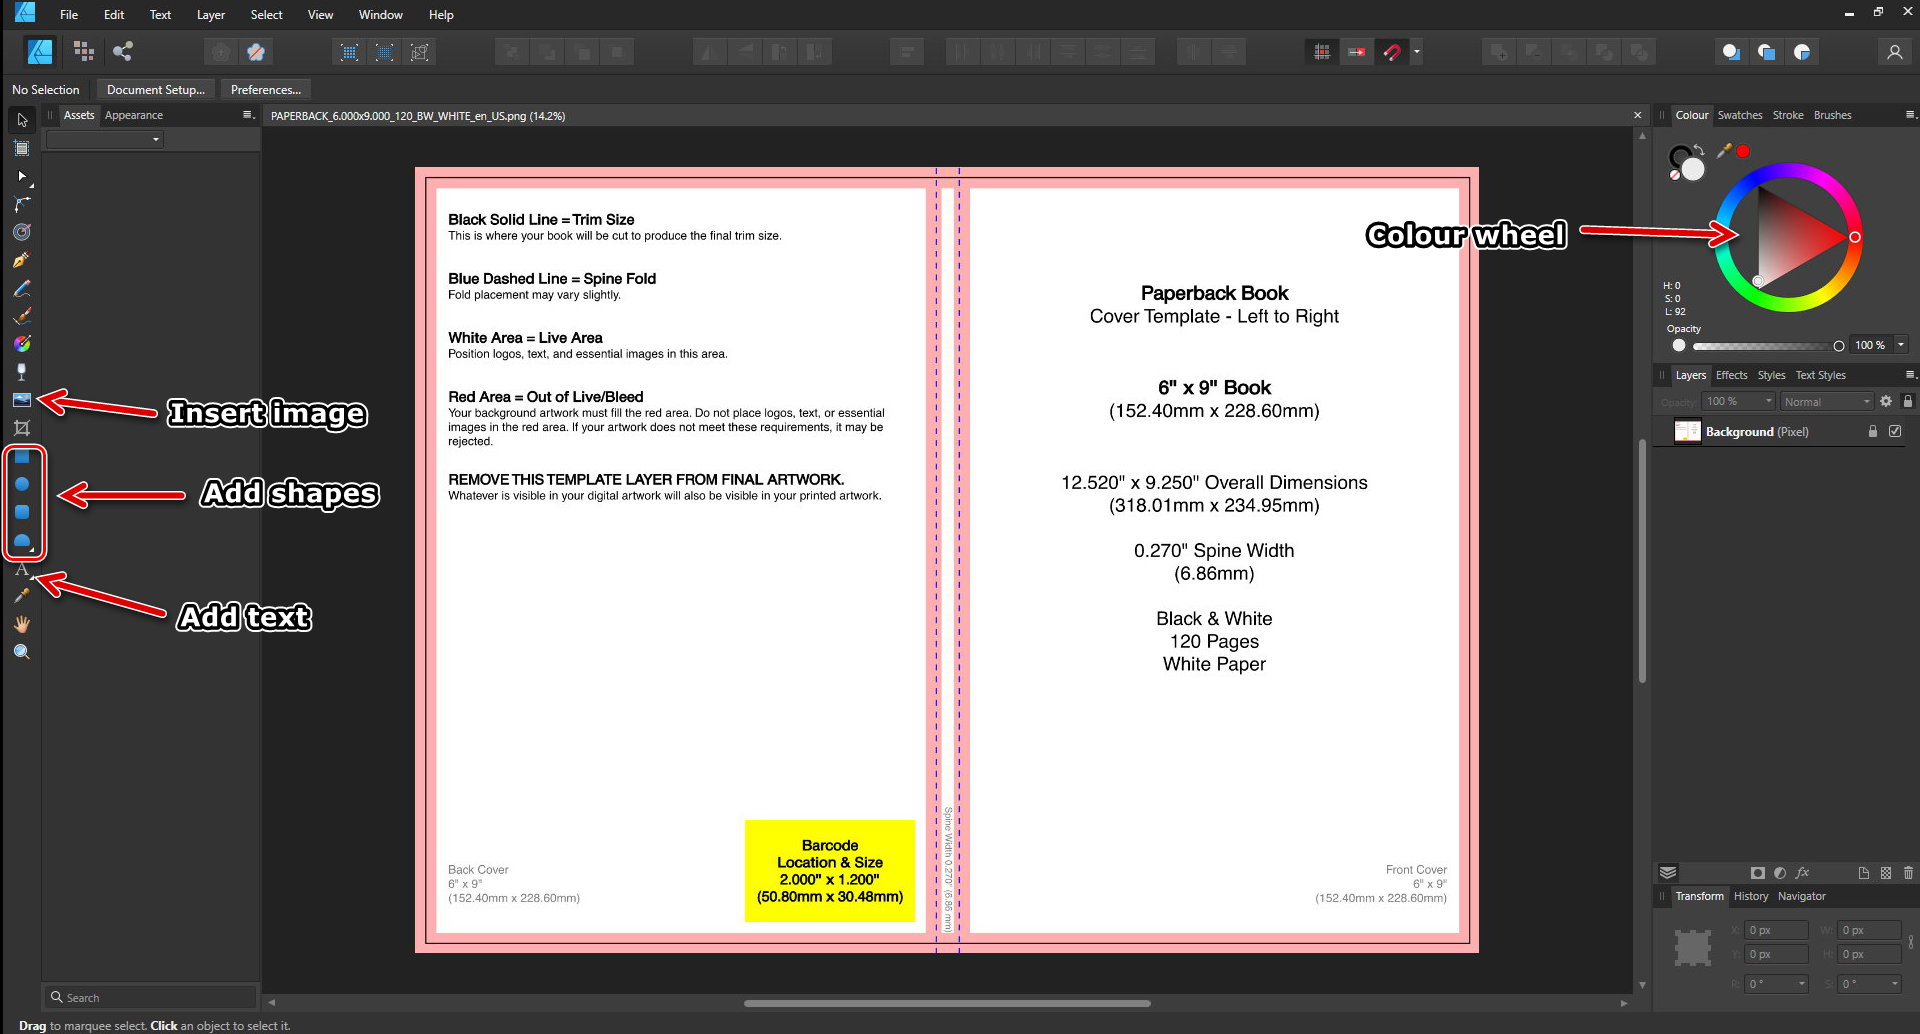
You will probably find your own way of doing things, but I tend to choose my background first before I add any elements, so I have an idea of which colours to use. I add the background using the add image feature you can see in the above image:
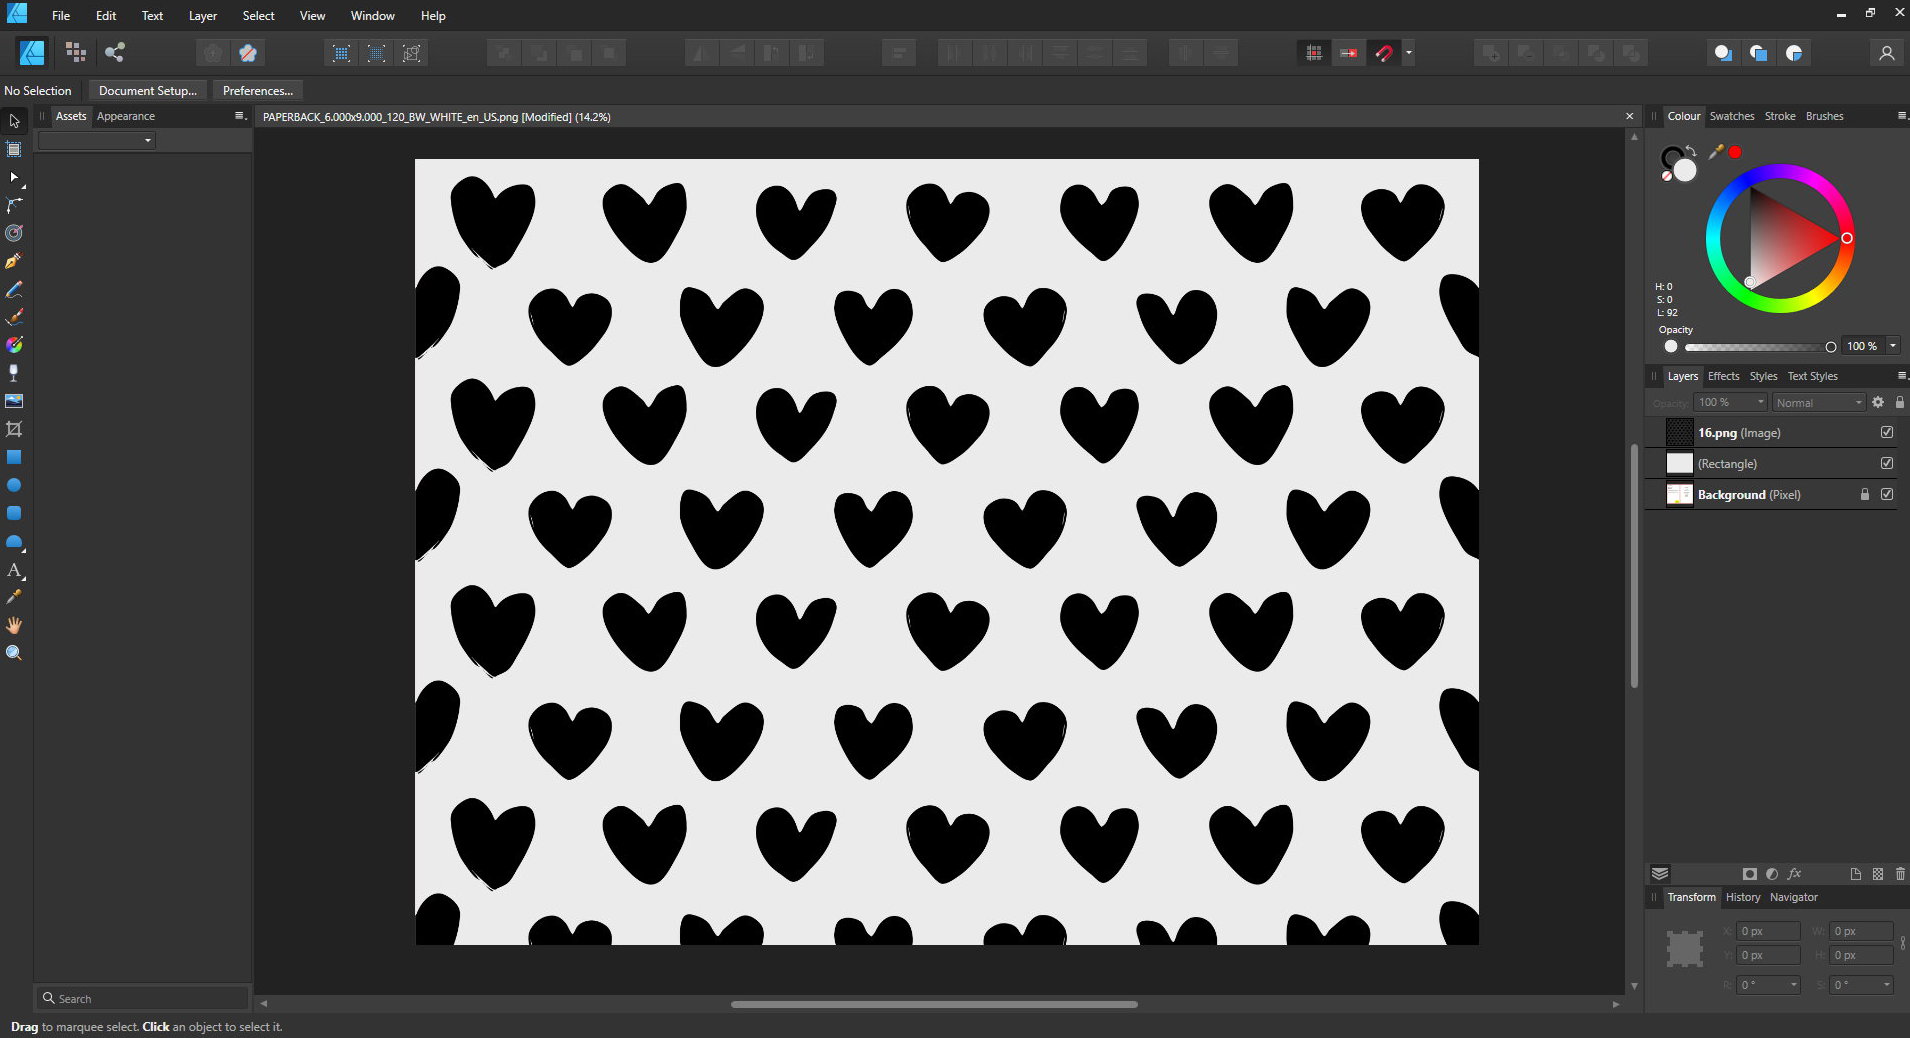
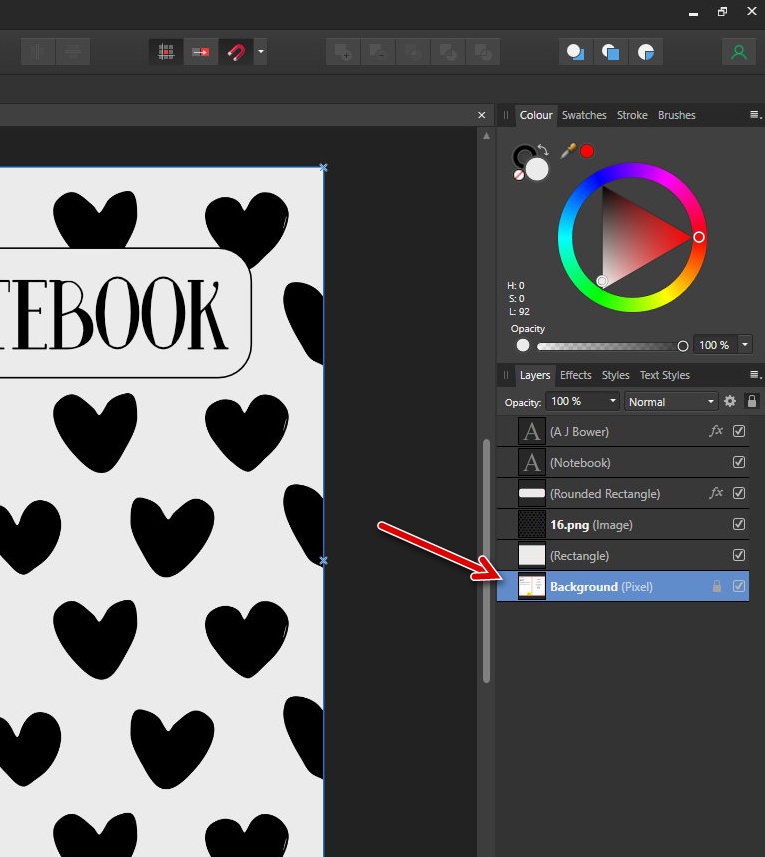
Then hide the background or make it transparent so you can add your other elements:

You can add different effects using the ‘Effects’ panel to the right of the ‘Layers’ panel:

I strongly suggest you save your design regularly, in case of crashes etc. You can do that from the top menu, ‘File/Save as’.
Before you export the finished image, make sure you un-hide the background and then delete the original book template file layer:
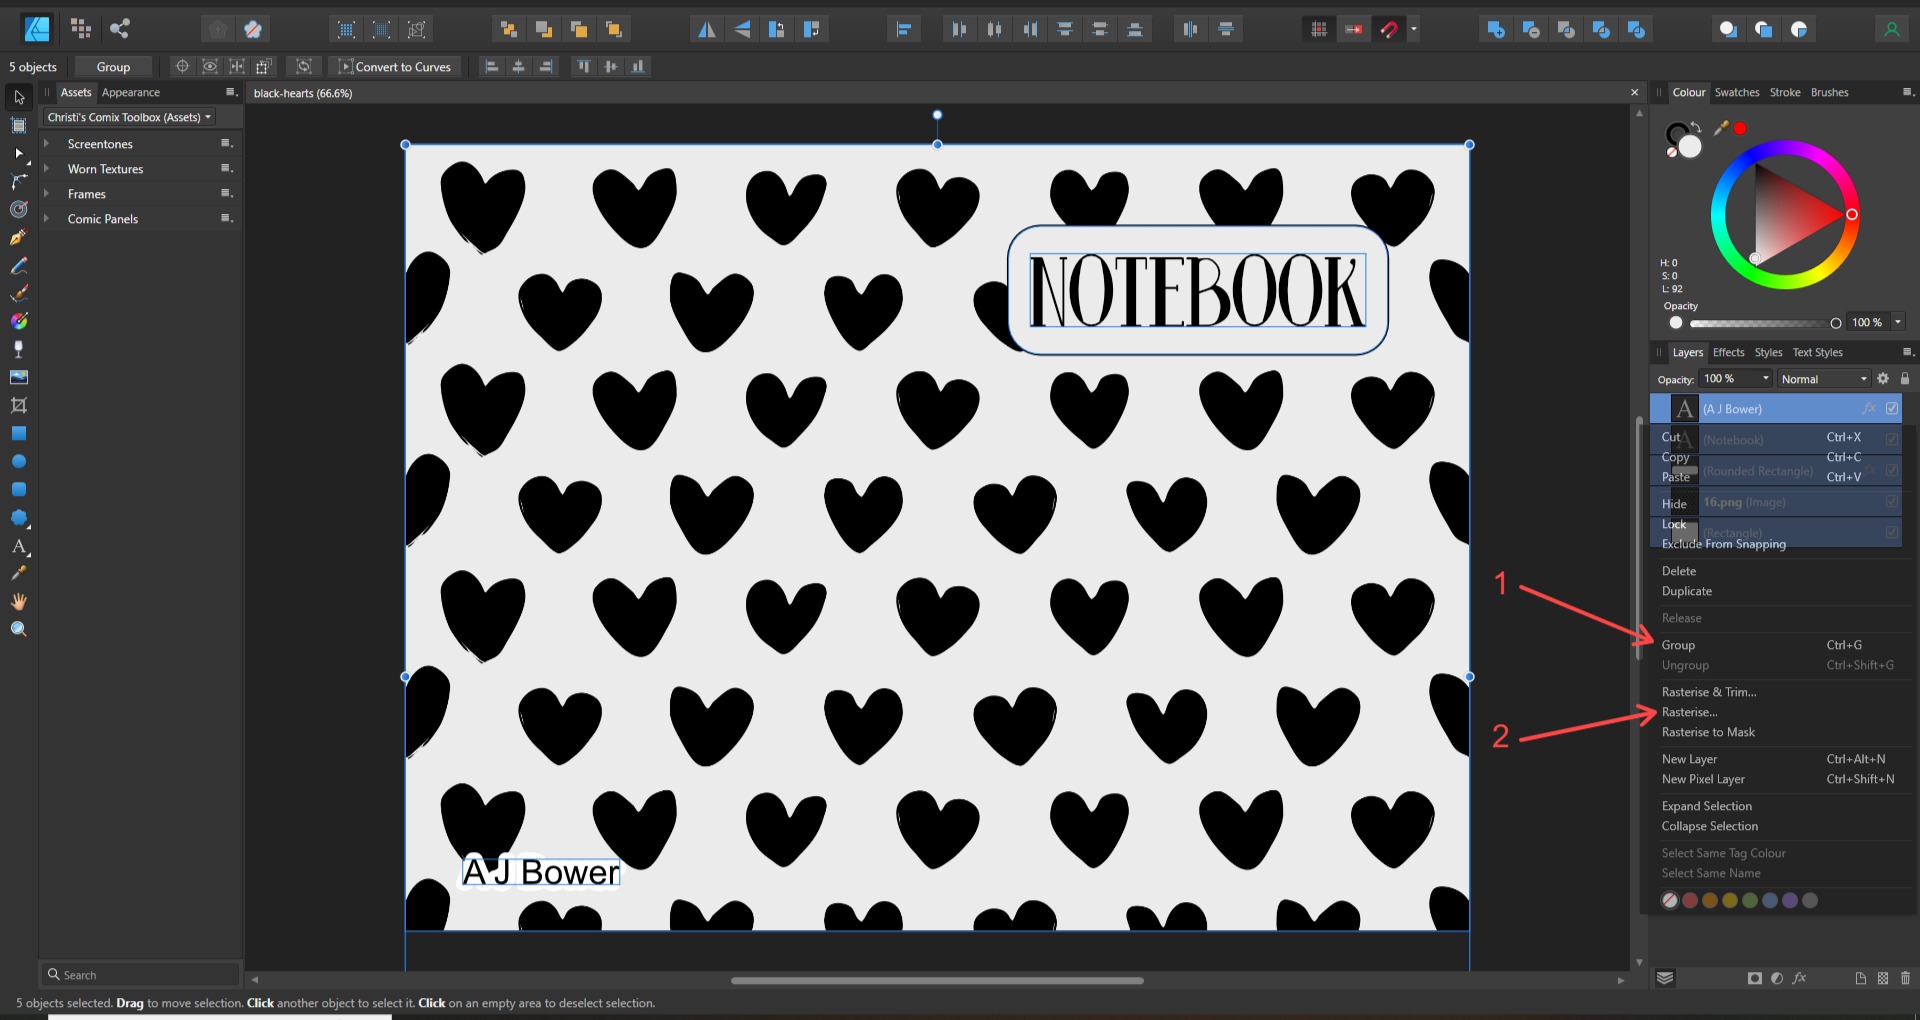
Edit: Strange things can happen to your uploaded cover files if you don’t ‘flatten’ the image layers. You can do this by selecting all of the layers, and then selecting ‘Group’. Click on the grouped file and then click ‘Rasterise’:
Now from the top menu, click ‘File/Export’, and export it as a PDF file, at 300 dpi:

Again, this is very basic. This is extremely powerful software, and there are a lot of tutorials out there that can help if you want to learn how to use it properly.
I hope this has been helpful. Some feedback on any of my tutorials would be welcome if you are so inclined. 🙂