If you’ve ever seen stickers with a white border around them, these are commonly known as die-cut stickers. They are usually single stickers that are cut out ready for purchase.
‘Kiss-cut’ stickers are usually on a sticker sheet and you have to peel each one off the paper to use them.
Whichever you prefer, adding a white border around them gives, in my opinion, a more professional and attractive appearance, although it’s not strictly necessary.
First of all, find an illustration you want to use. I found one on Pixabay.
If you want to remove the background, you can do it here for free. I removed the background.
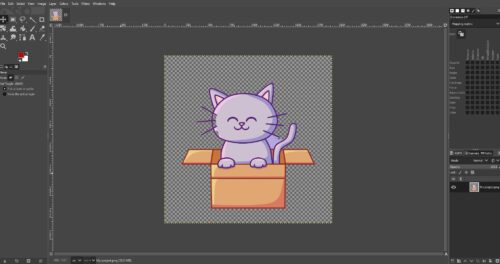
To create a single sticker, open Gimp and then open up the image you want to use:
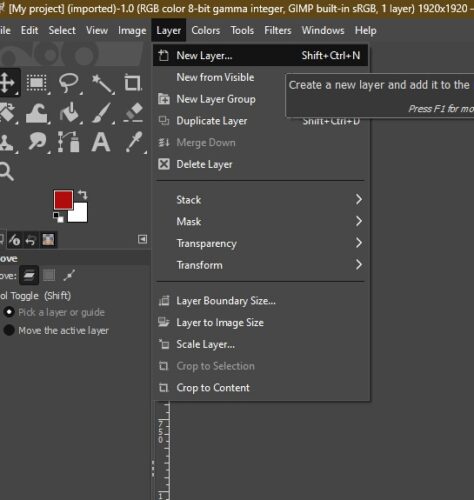
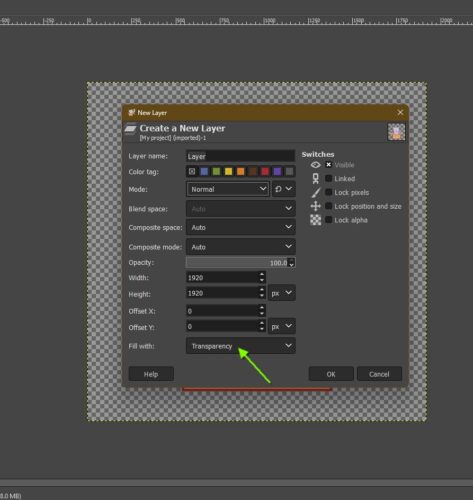
Now create a new, transparent layer:
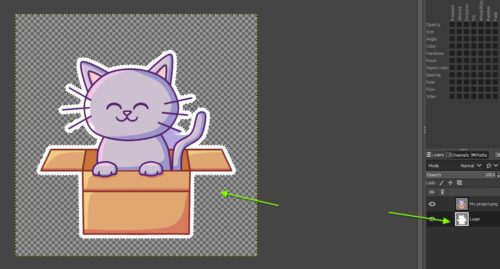
On the right-hand side, in the layers panel, drag the background layer underneath the image layer:
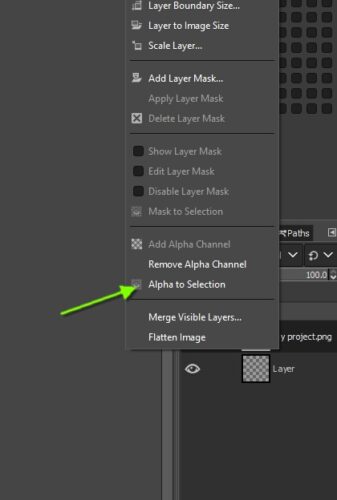
Right-click on the image layer and choose: Alpha to Selection:
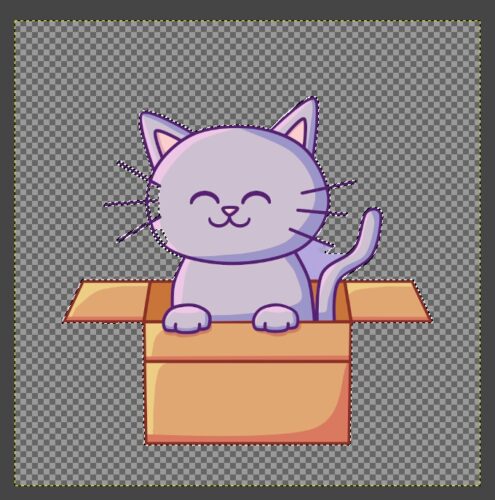
This selects and highlights the image with dotted lines:
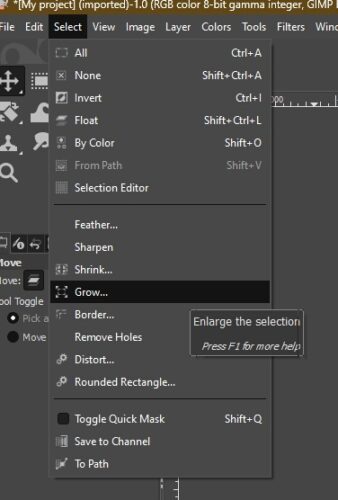
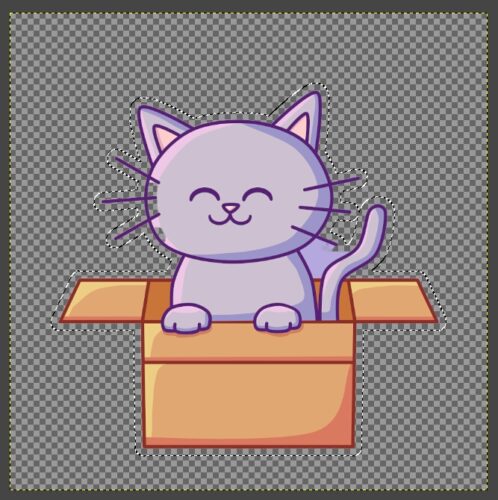
From the top menu, choose ‘Select’ and then ‘Grow’. This will extend the highlighted boundary. The amount you choose will depend on the image and the look you are going for. For this image, I chose 30px, but you may want narrower or wider outlines:
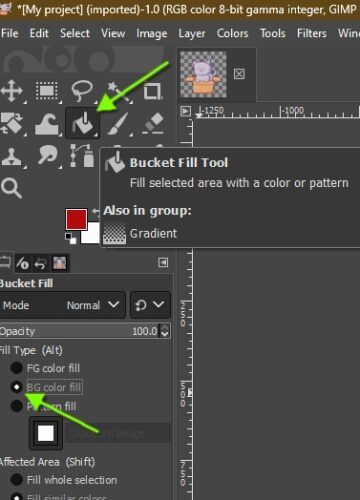
Now I’ll select the bucket fill tool and choose white as my border colour. This is the norm for stickers, but you can use whatever colour you wish, depending on the look you are going for:
Now select the transparent background layer and click on the image to change the outline:
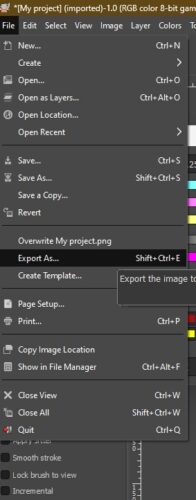
Now export the image as a .png file to keep the transparency and you’ve made your first sticker:
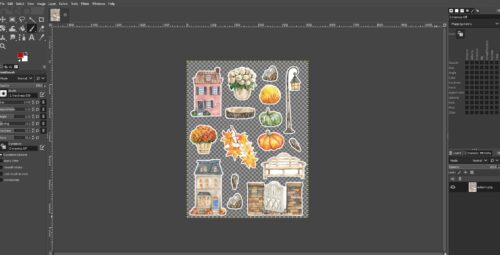
Once you have enough stickers, you could now create a new, transparent image in Gimp, say A4 size, and add your stickers to make a single sticker sheet. 🙂

